Got a New Stand Mixer? Here’s How to Actually Use It (Complete Beginner’s Guide)
You did it. You finally took the plunge.
That beautiful, gleaming stand mixer is now sitting on your kitchen counter, looking absolutely gorgeous… and maybe a little intimidating. You open the box and pull out a weird-looking hook, a flat paddle, a whisk, and you’re thinking: “What am I supposed to do with all this?”
Relax. You absolutely got this.
A stand mixer is designed to make your kitchen life easier, not harder. Once you understand what each attachment does and follow a few simple rules, you’ll be making perfect bread, cookies, cakes, and whipped cream like a pro. Here’s everything you need to know about how to use a stand mixer and what those mysterious attachments are actually for.
The Three Attachments: Your Complete Guide
This is the part that confuses everyone. But here’s the truth: you’ll use these three attachments for 99% of your recipes. Understanding each one is half the battle.
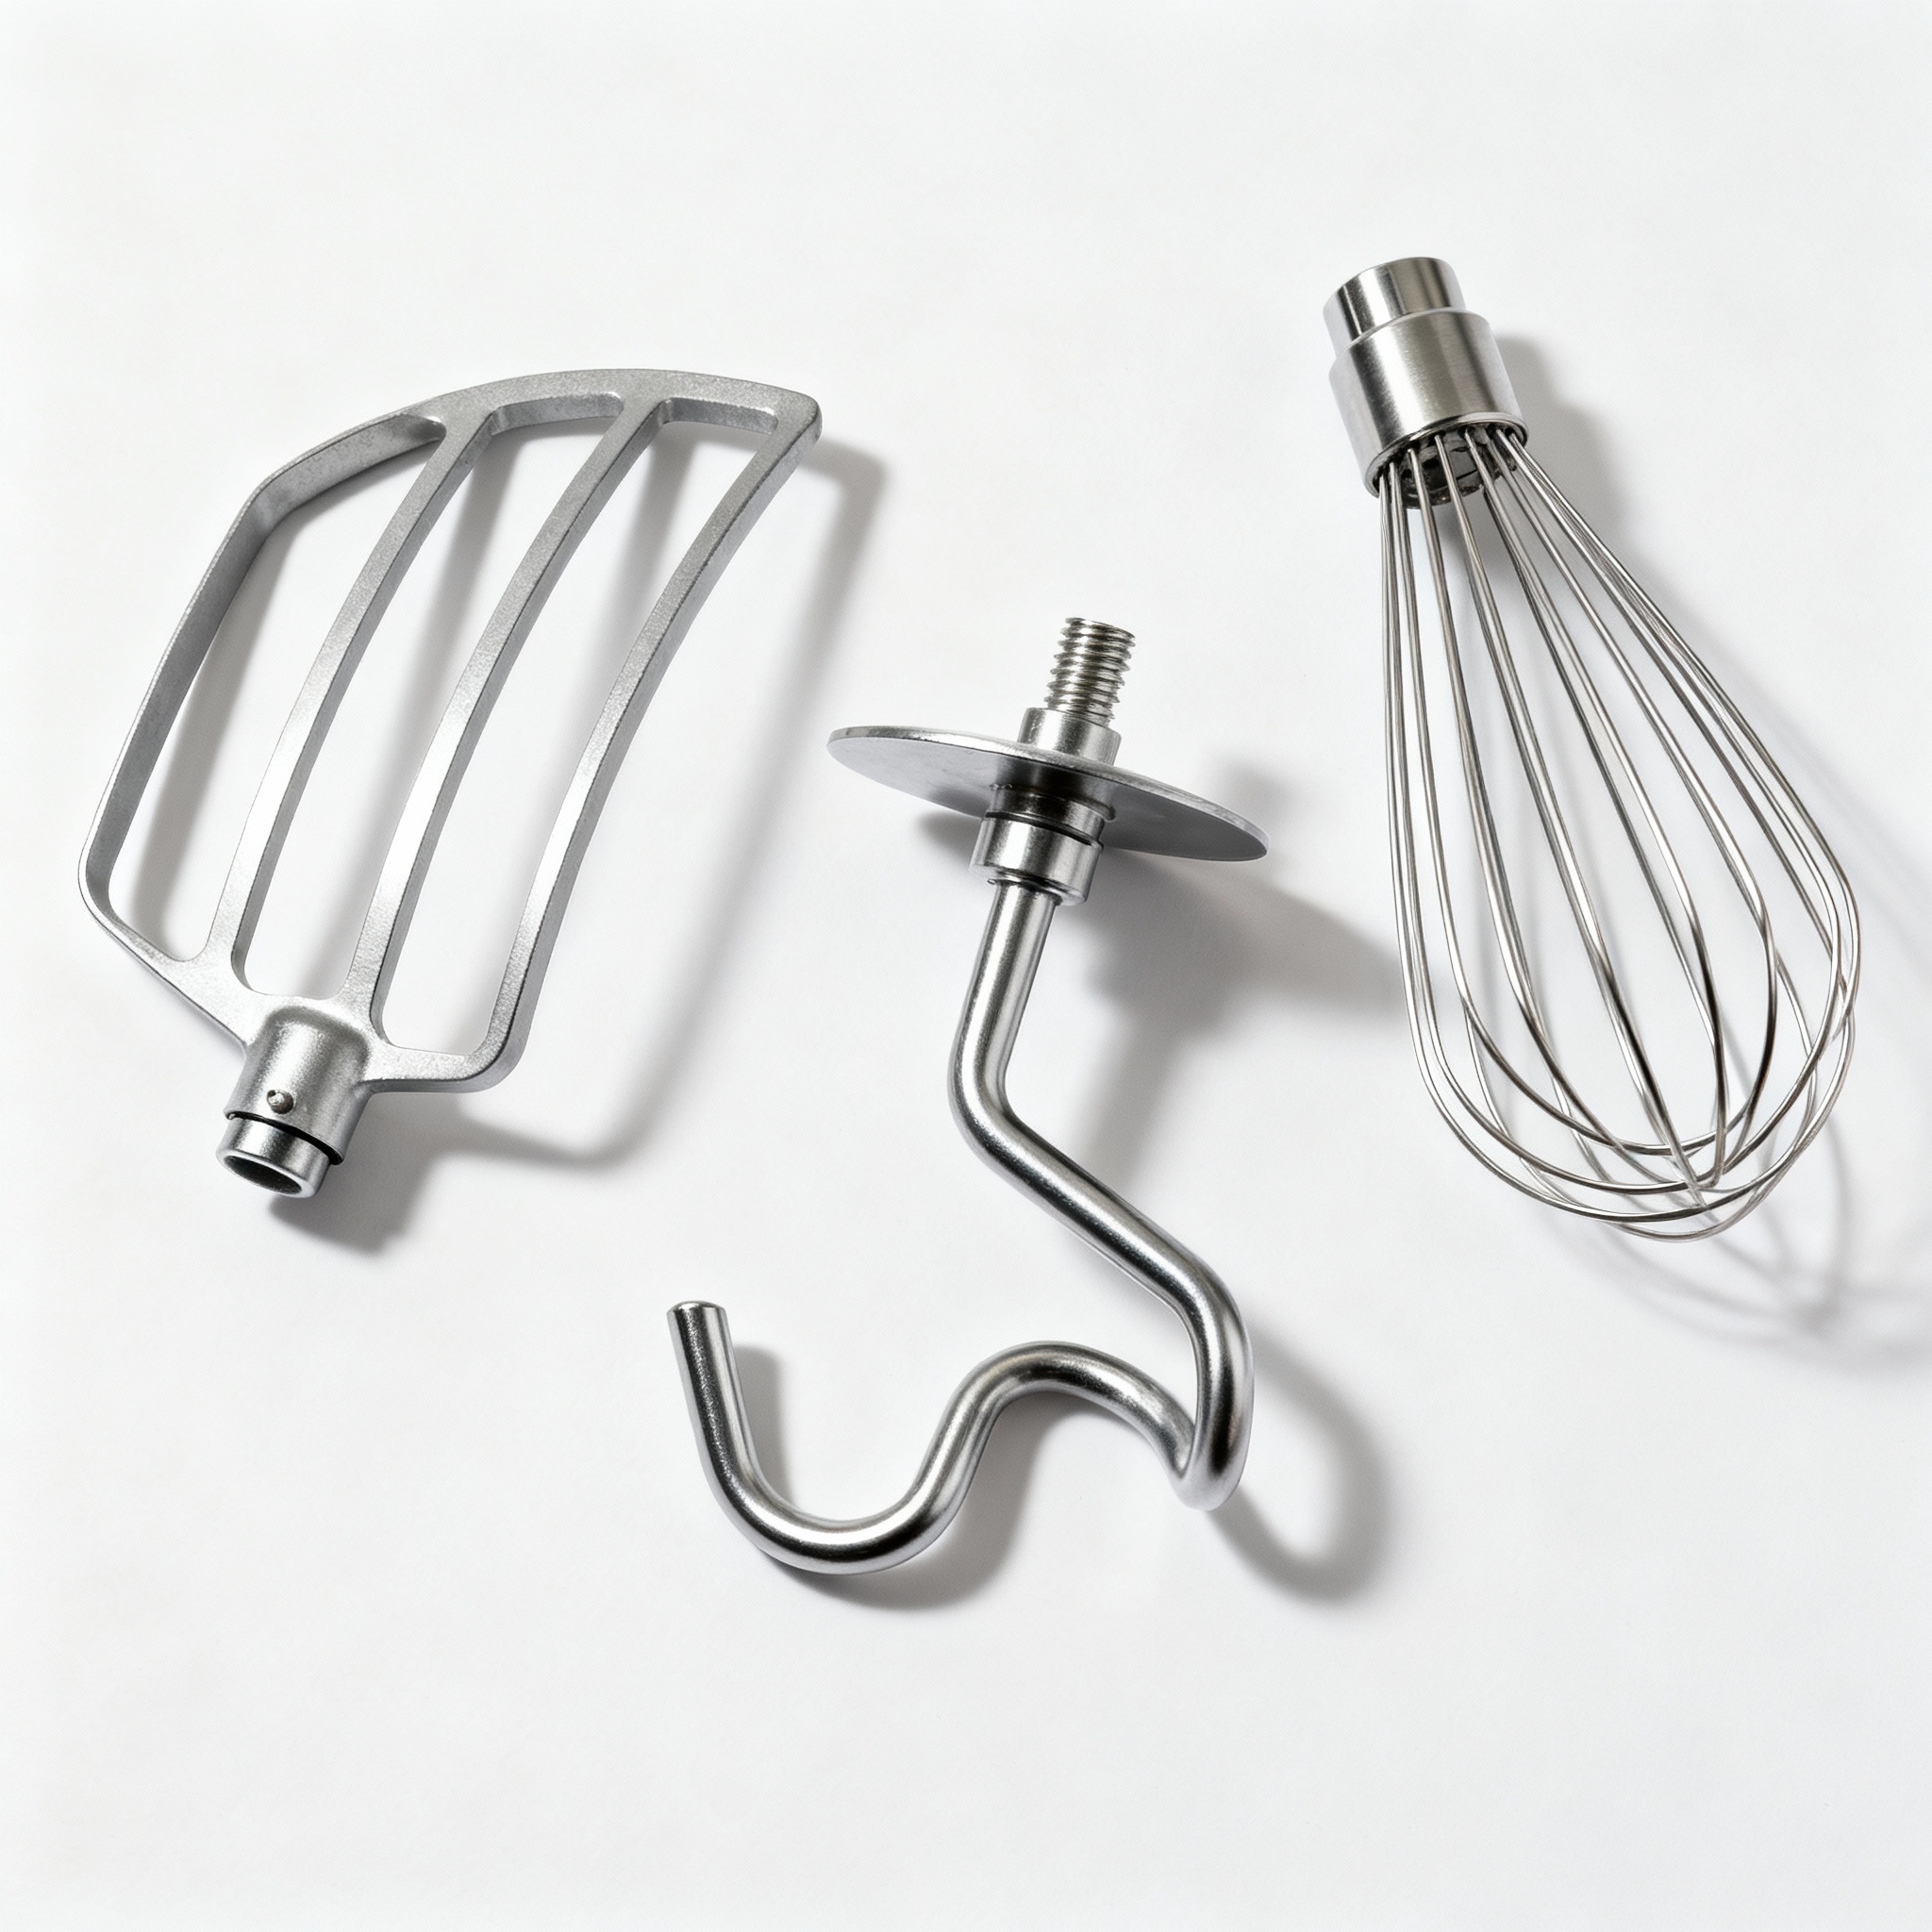
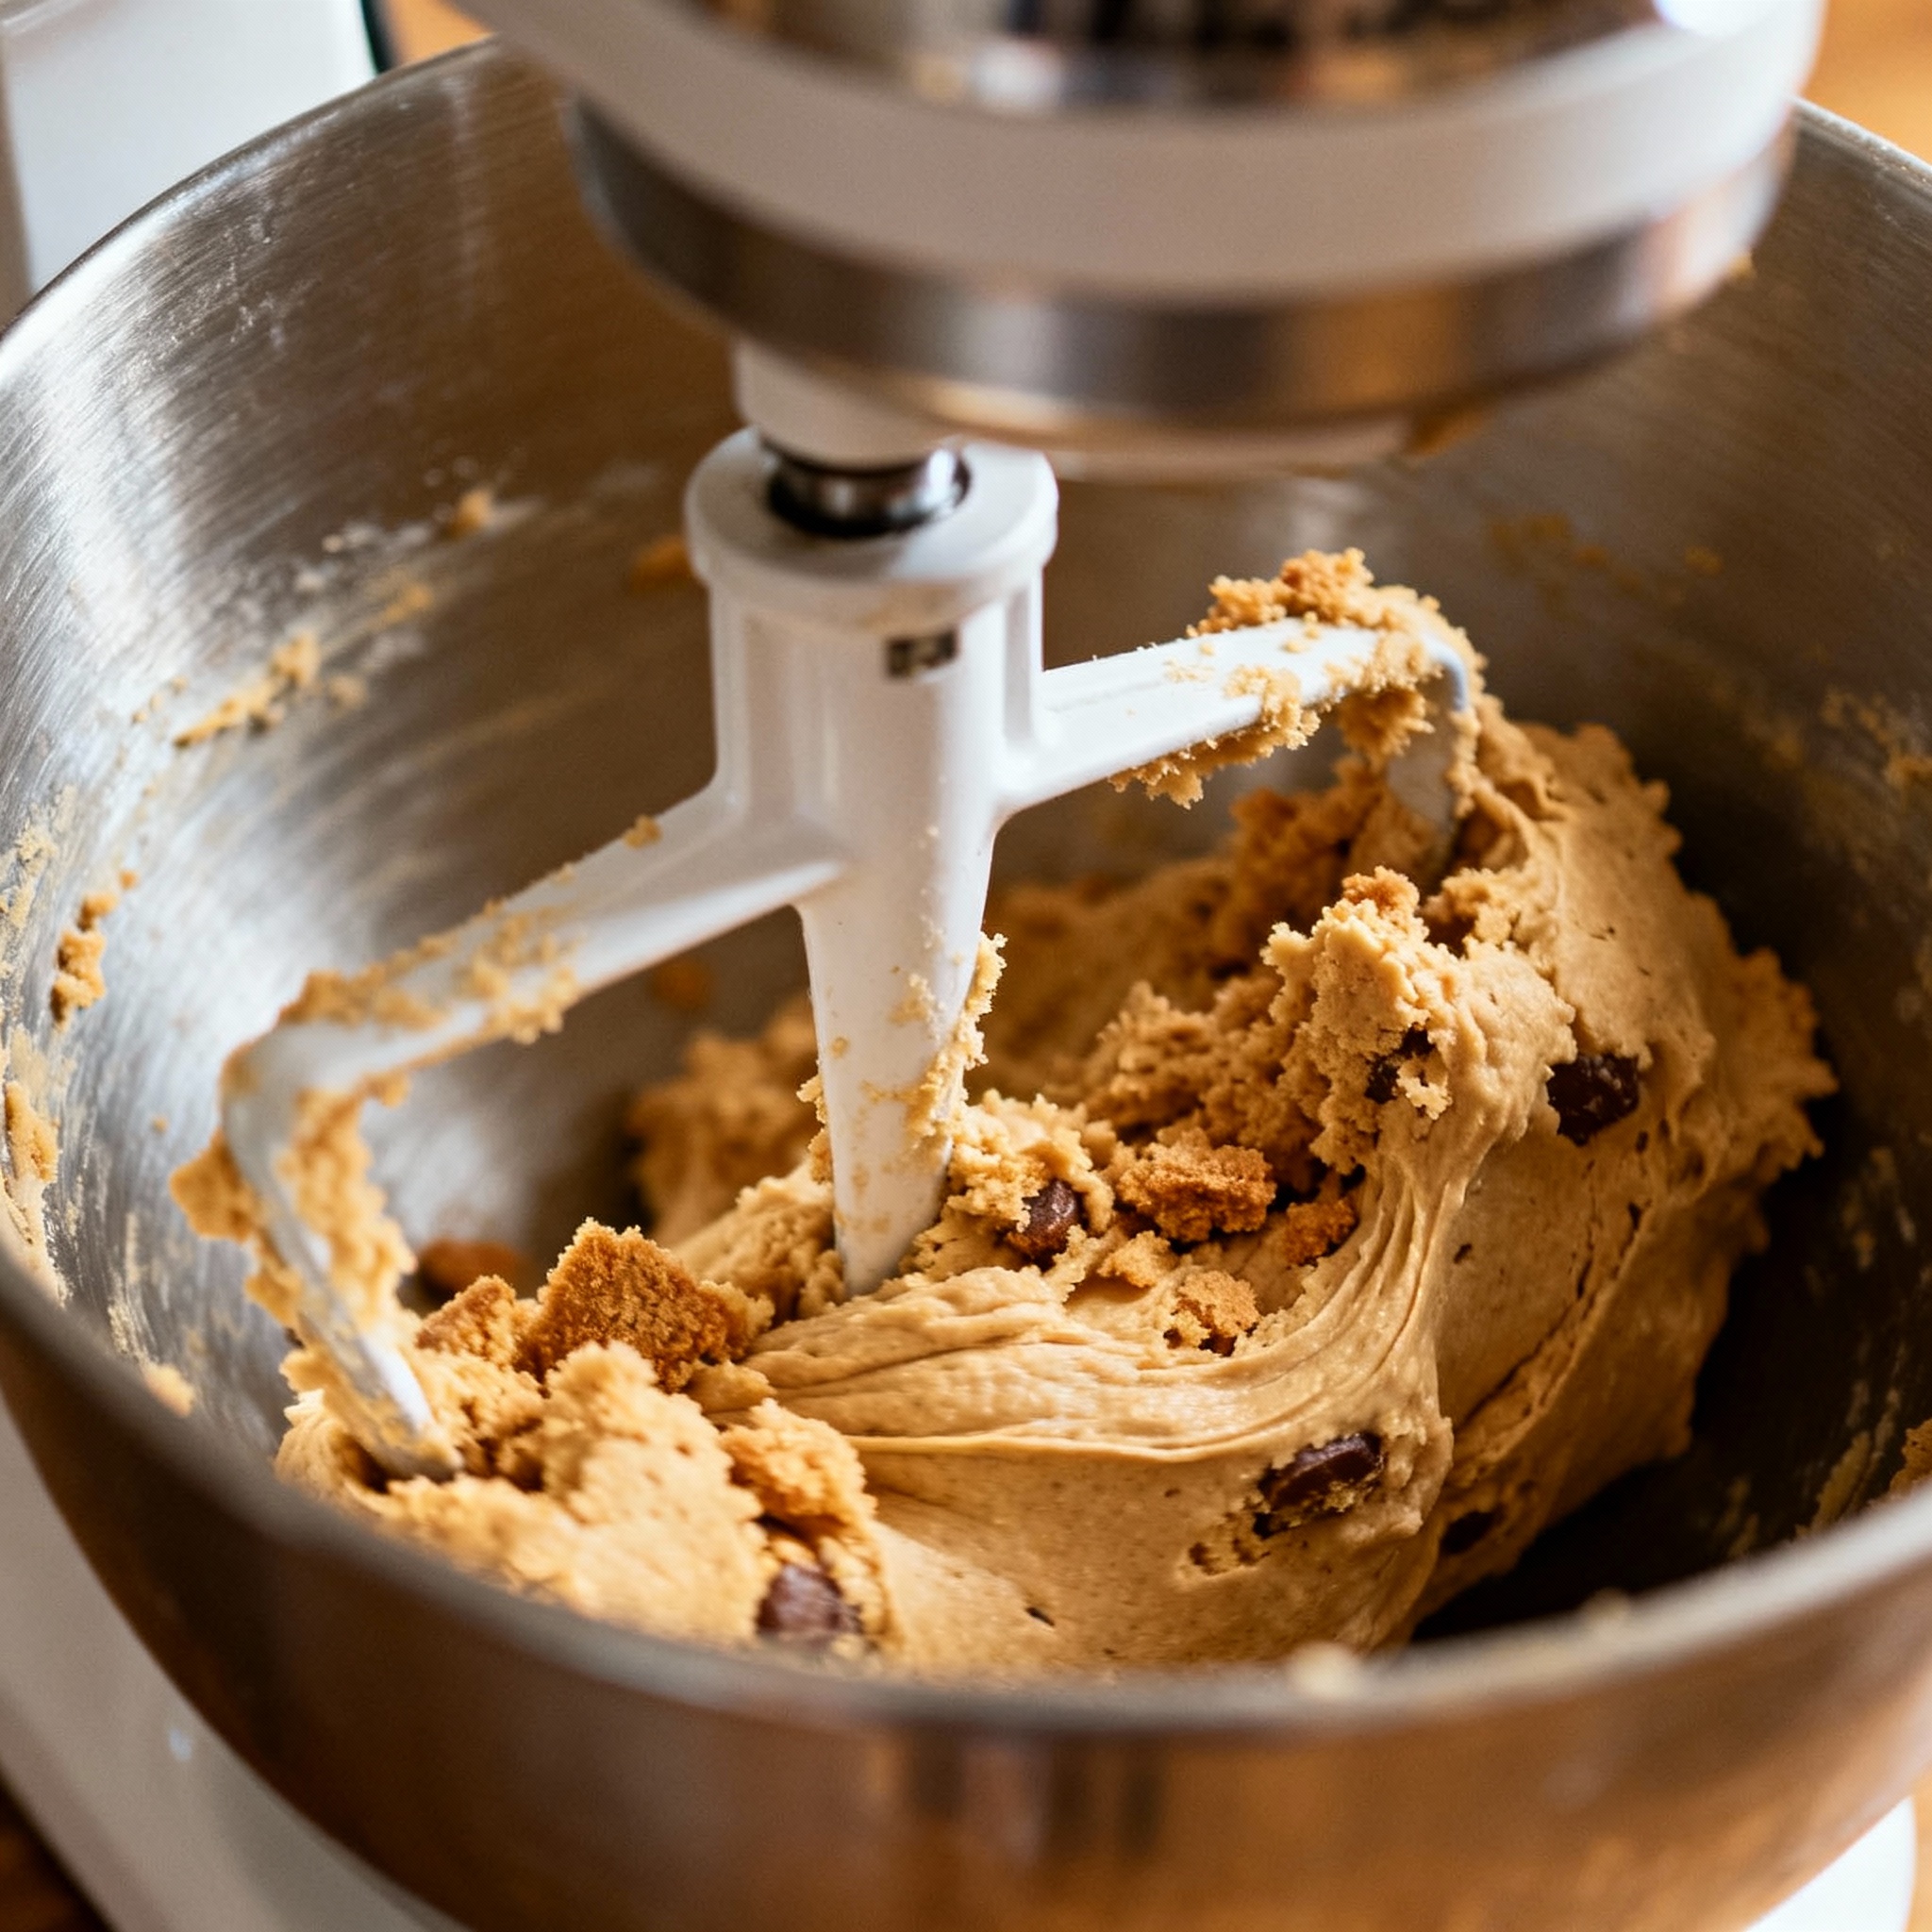
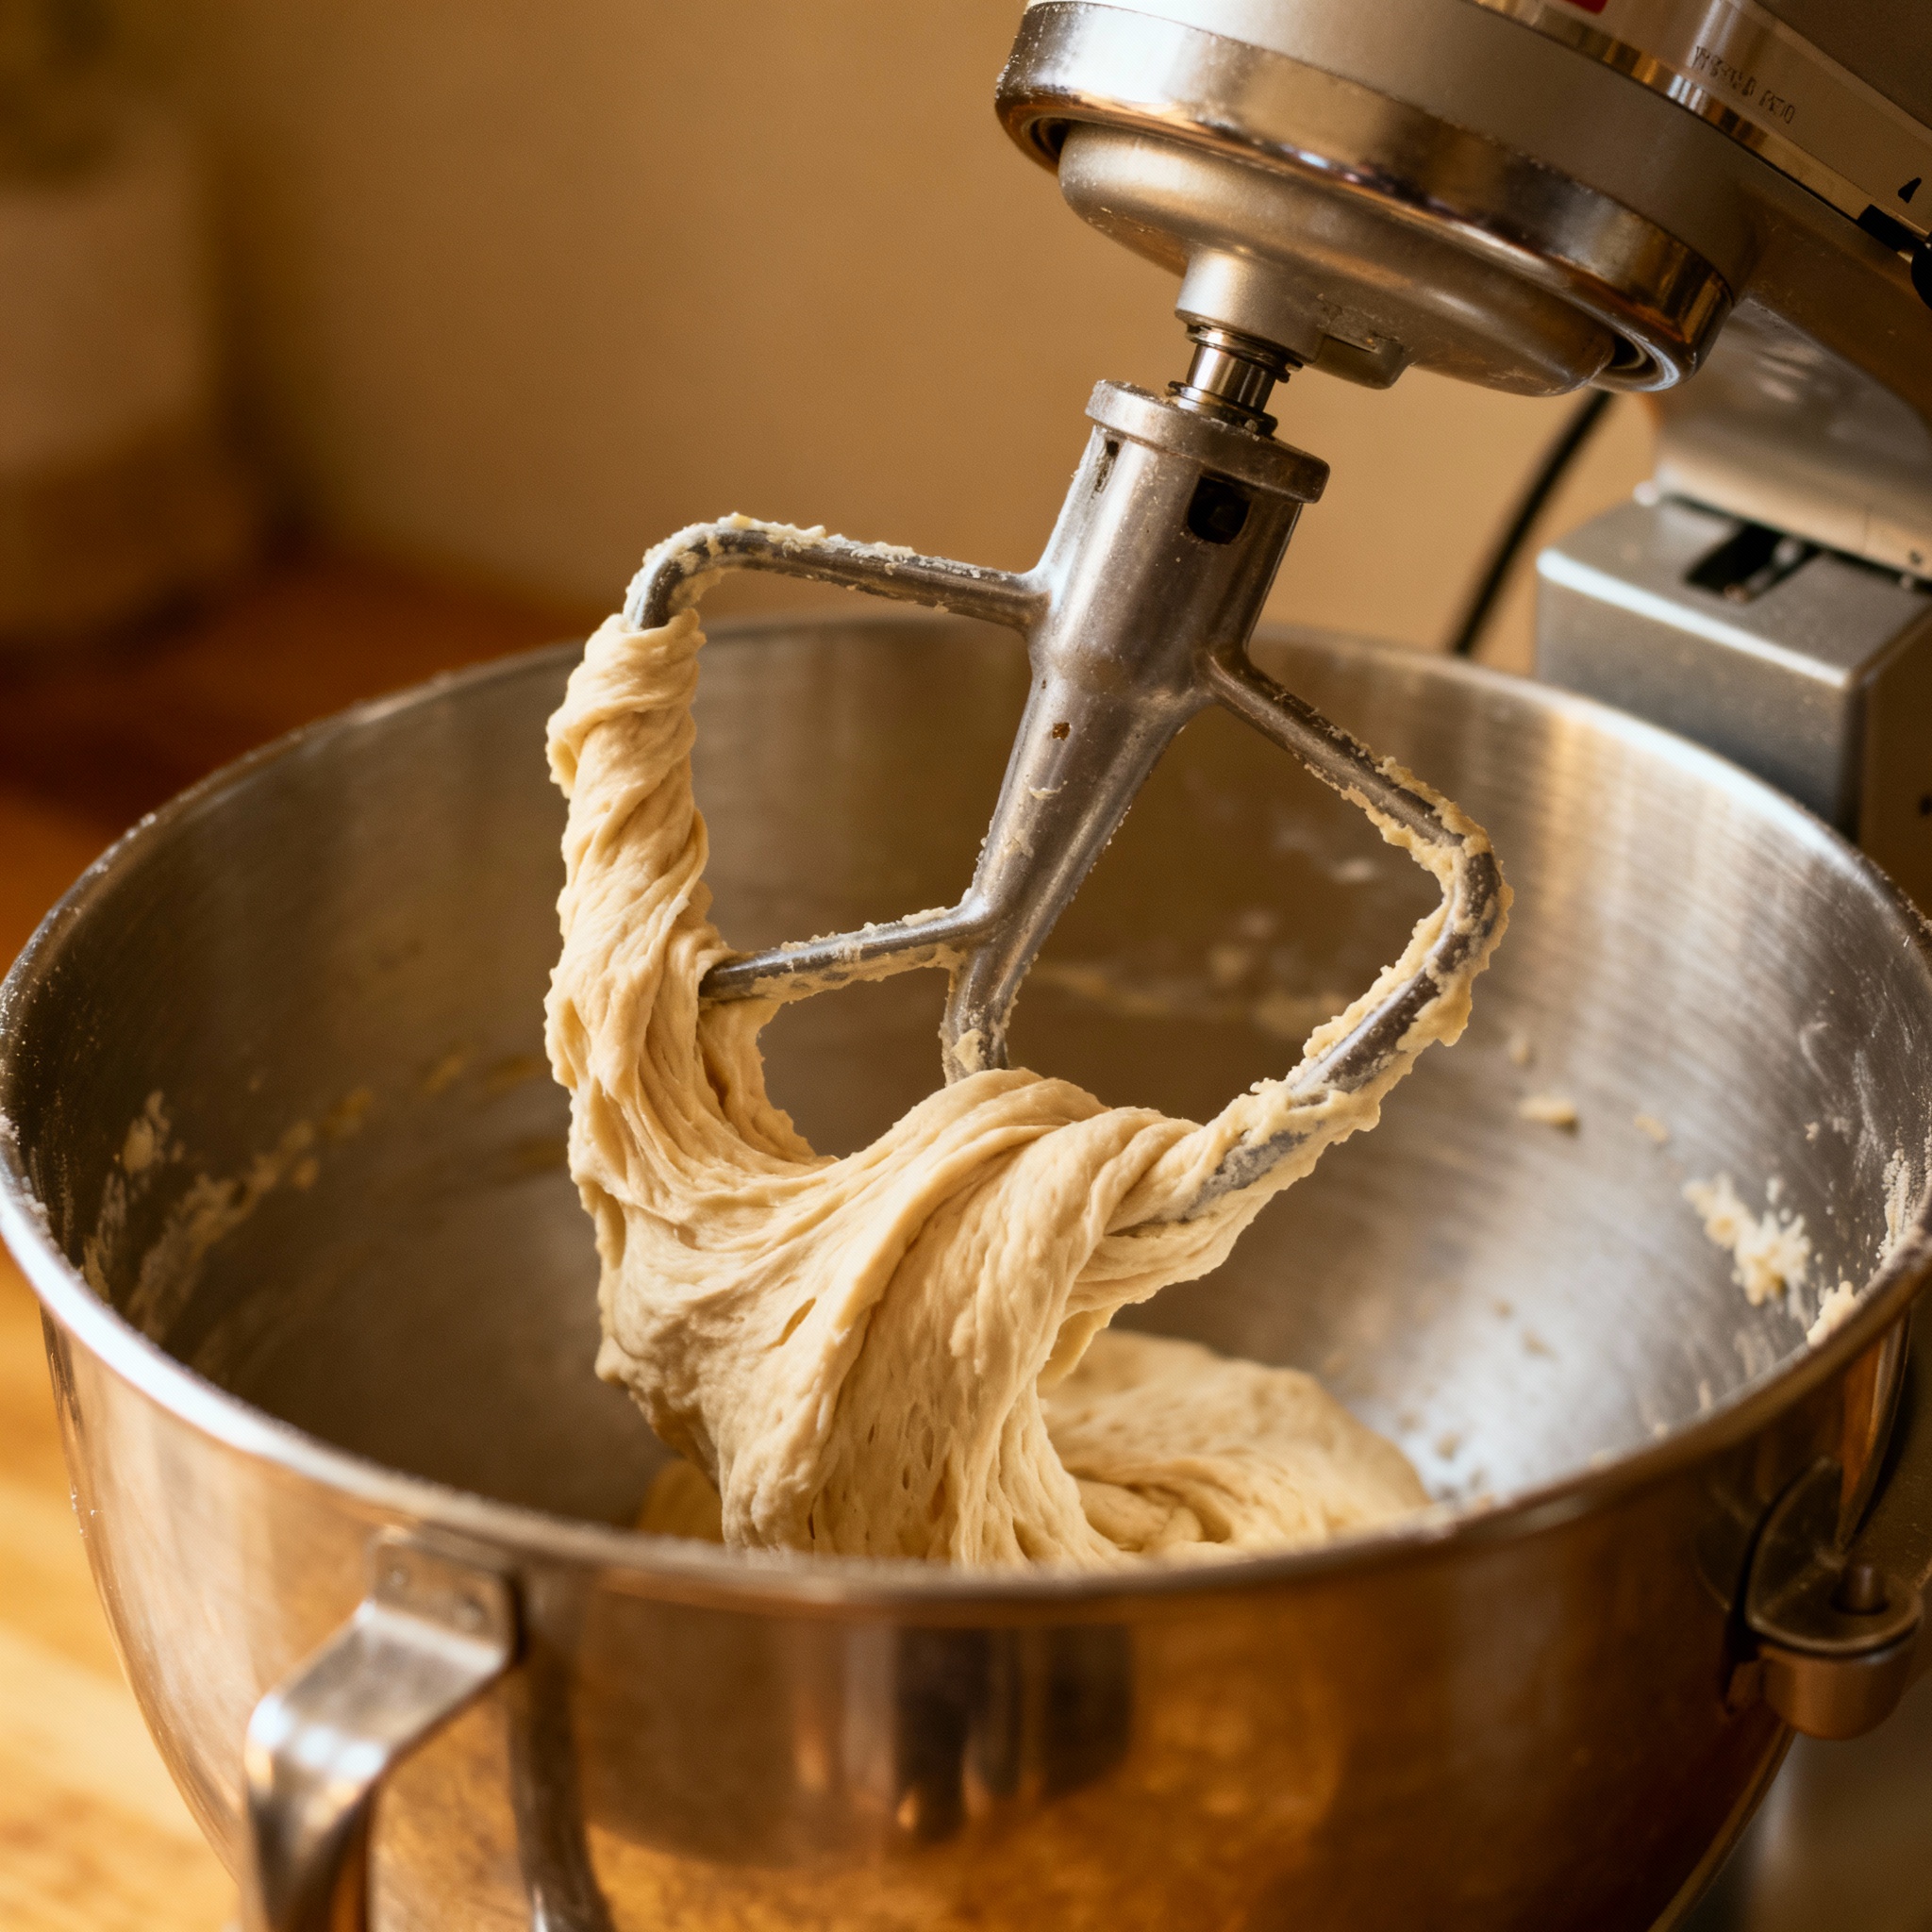
1. The Flat Beater (The “Paddle”) — Your Most-Used Attachment
This is your workhorse. The flat beater is used for:
- Mixing cookie dough
- Creaming butter and sugar together
- Making cake batter
- Mashing potatoes
- Shredding cooked chicken
- Mixing wet and dry ingredients for most recipes
Rule: Start on low speed (Speed 1 or “Stir”) when combining dry ingredients to avoid flour explosions. Once combined, you can bump it up to Speed 2 or 3.
2. The Dough Hook (The “C” or “S” Shaped Hook) — For Kneading Only
This attachment is specifically designed for one job: kneading bread, pizza dough, and pasta dough. It does the heavy work that would normally take 10 minutes of manual kneading.
Use it for:
- Bread dough (white, whole wheat, sourdough)
- Pizza dough
- Pasta dough
- Any dense, sticky dough that needs kneading
Rule: Use Speed 2 (medium) when kneading. The dough should pull away from the sides of the bowl but still stick a tiny bit to the bottom. If it’s completely wet, add a tablespoon of flour. If it’s too dry, add a teaspoon of water.
3. The Wire Whisk (The “Whip”) — For Light & Fluffy Only
The wire whisk is designed to incorporate air into ingredients, making them light and fluffy. Use it for:
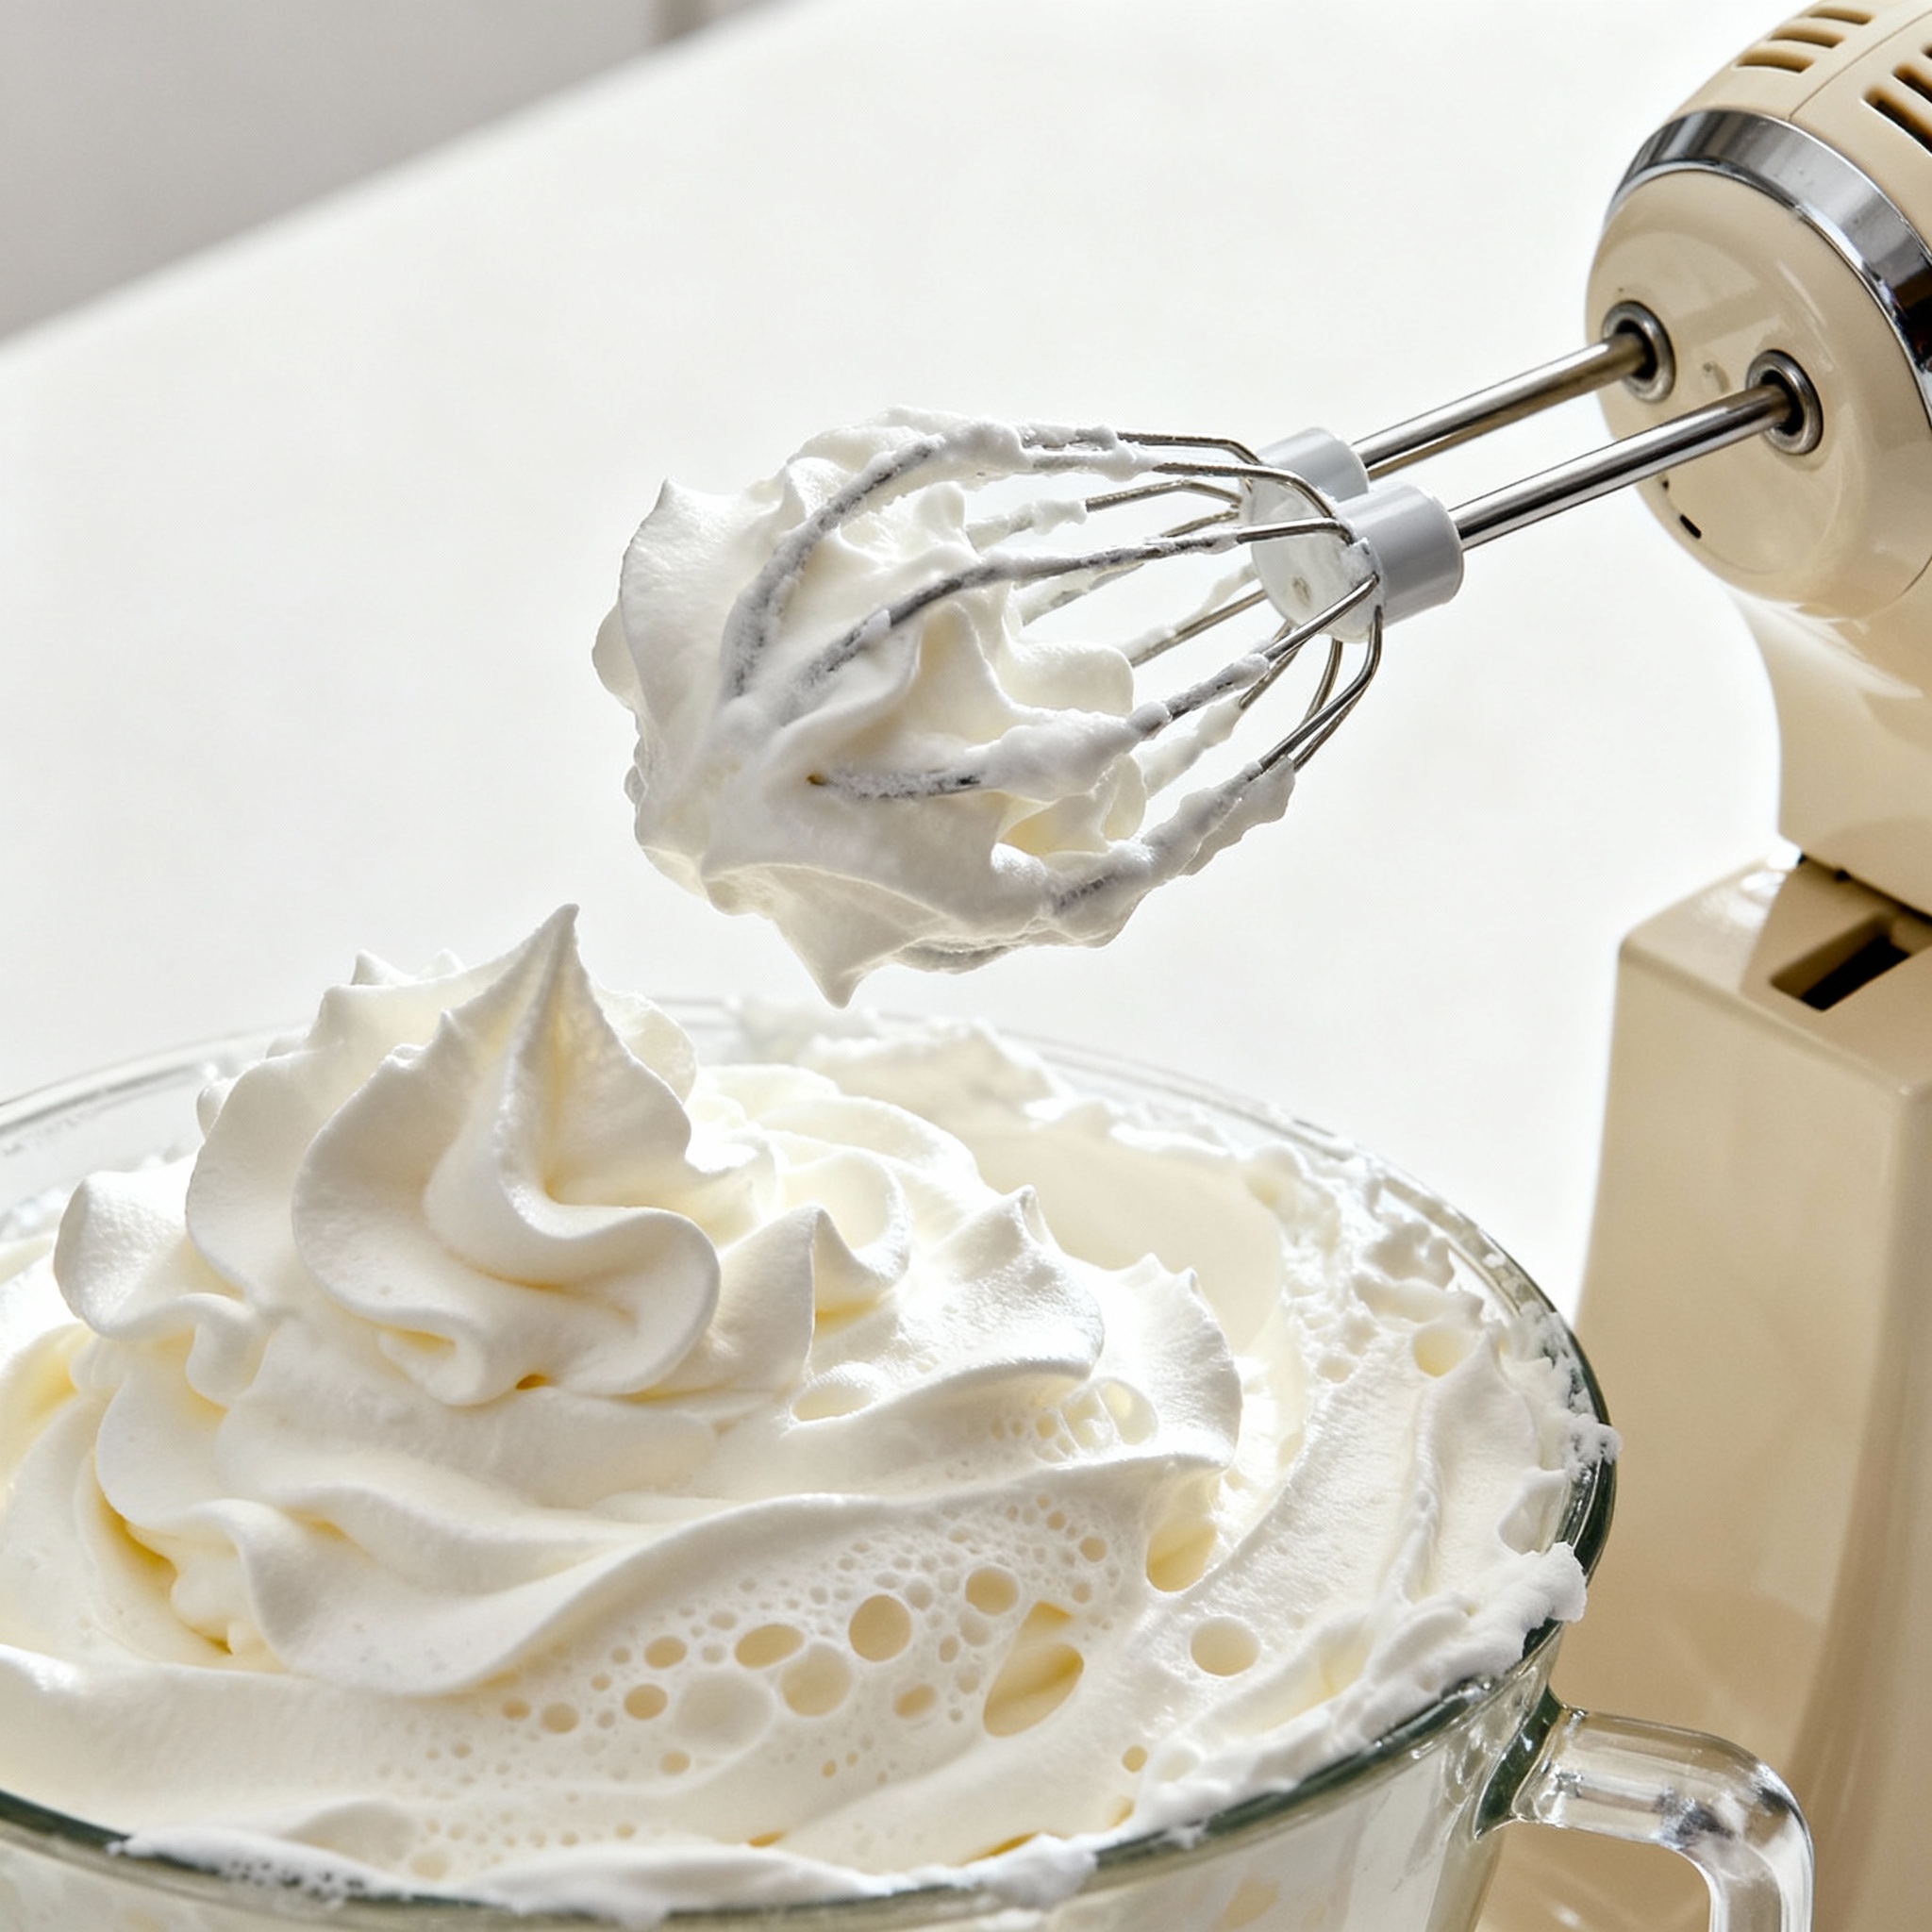
- Whipping cream (into whipped cream)
- Beating egg whites (for meringue or angel food cake)
- Whipping eggs and sugar (for sponge cakes)
- Making homemade mayonnaise or aioli
Important Rule: NEVER use the wire whisk for cookie dough, cake batter, or heavy mixtures. The wires can break or bend from the resistance. Stick to the flat beater for those.
Speed Tip: Start on Speed 3-4 for whipping cream. Once it starts to thicken, you can go faster. Stop when you see stiff peaks forming—don’t overbeat or you’ll end up with butter!
Step-by-Step: How to Use Your Stand Mixer
Step 1: Lock the Bowl into the Base (Critical!)
This is the #1 beginner mistake. The stainless steel bowl must be locked securely into the base of the mixer. Put it in and twist it until it’s snug. You should hear or feel a little “click.”
Why? If you don’t lock it properly, the bowl will spin around while the mixer is running, and you’ll have flour/dough all over your counter (and possibly your shirt).
Step 2: Choose the Right Attachment for Your Recipe
Look at what you’re making and pick accordingly:
| Recipe Type | Use This Attachment |
|---|---|
| Cookies, brownies, cake batter | Flat Beater |
| Bread, pizza, or pasta dough | Dough Hook |
| Whipped cream, meringue, egg whites | Wire Whisk |
| Mashed potatoes, shredded chicken | Flat Beater |
Step 3: Lock the Head Down (For Tilt-Head Mixers)
If you have a “Tilt-Head” mixer (like most KitchenAid Artisans), the head tilts up so you can attach the bowl. After you’ve added your ingredients:
- Lower the head back down gently
- Make sure you push it all the way down until it’s fully locked
- There’s usually a lever or release button on the side—make sure it’s in the “locked” position
Why? If you don’t lock the head down, it will bounce up and down while mixing, which is annoying and can splatter ingredients everywhere.
Step 4: Always Start SLOW (This Cannot Be Overstated)
This is the #2 beginner mistake. Even if you’re tempted to crank the speed to “High,” don’t. Always start on Speed 1 or the “Stir” setting.
Why? Because if you start too fast with dry ingredients, you’ll get a literal flour explosion. Your kitchen will look like a winter snowstorm. Trust me, it’s not fun to clean up.
The proper order:
- Start on Speed 1 to combine ingredients
- Once things are combined (no dry flour visible), bump up to Speed 2 or 3
- Only go to Speed 4+ if your recipe specifically says to
Step 5: Let It Do Its Job (But Stay Nearby)
This is the magic part. Once your mixer is running on the right speed, you can walk away and prep your pans, wash your hands, or get other ingredients ready.
But here’s the catch: Never leave a stand mixer running unattended, especially with heavy dough. Heavy doughs can cause the mixer to “walk” across the counter or overheat the motor if it’s working too hard. Stay within earshot and check on it every 30 seconds or so.
Timing guide for common recipes:
- Cookie dough: 2-3 minutes on Speed 2
- Cake batter: 2-3 minutes on Speed 2
- Bread dough kneading: 5-8 minutes on Speed 2
- Whipped cream: 3-5 minutes on Speed 3-4 (watch carefully toward the end)
The “Dime Test”: Checking Your Beater Clearance
Sometimes your mixer isn’t quite reaching the bottom of the bowl, or it’s hitting too hard. There’s a simple test to check if your mixer’s beater-to-bowl clearance is correct: the “Dime Test.”
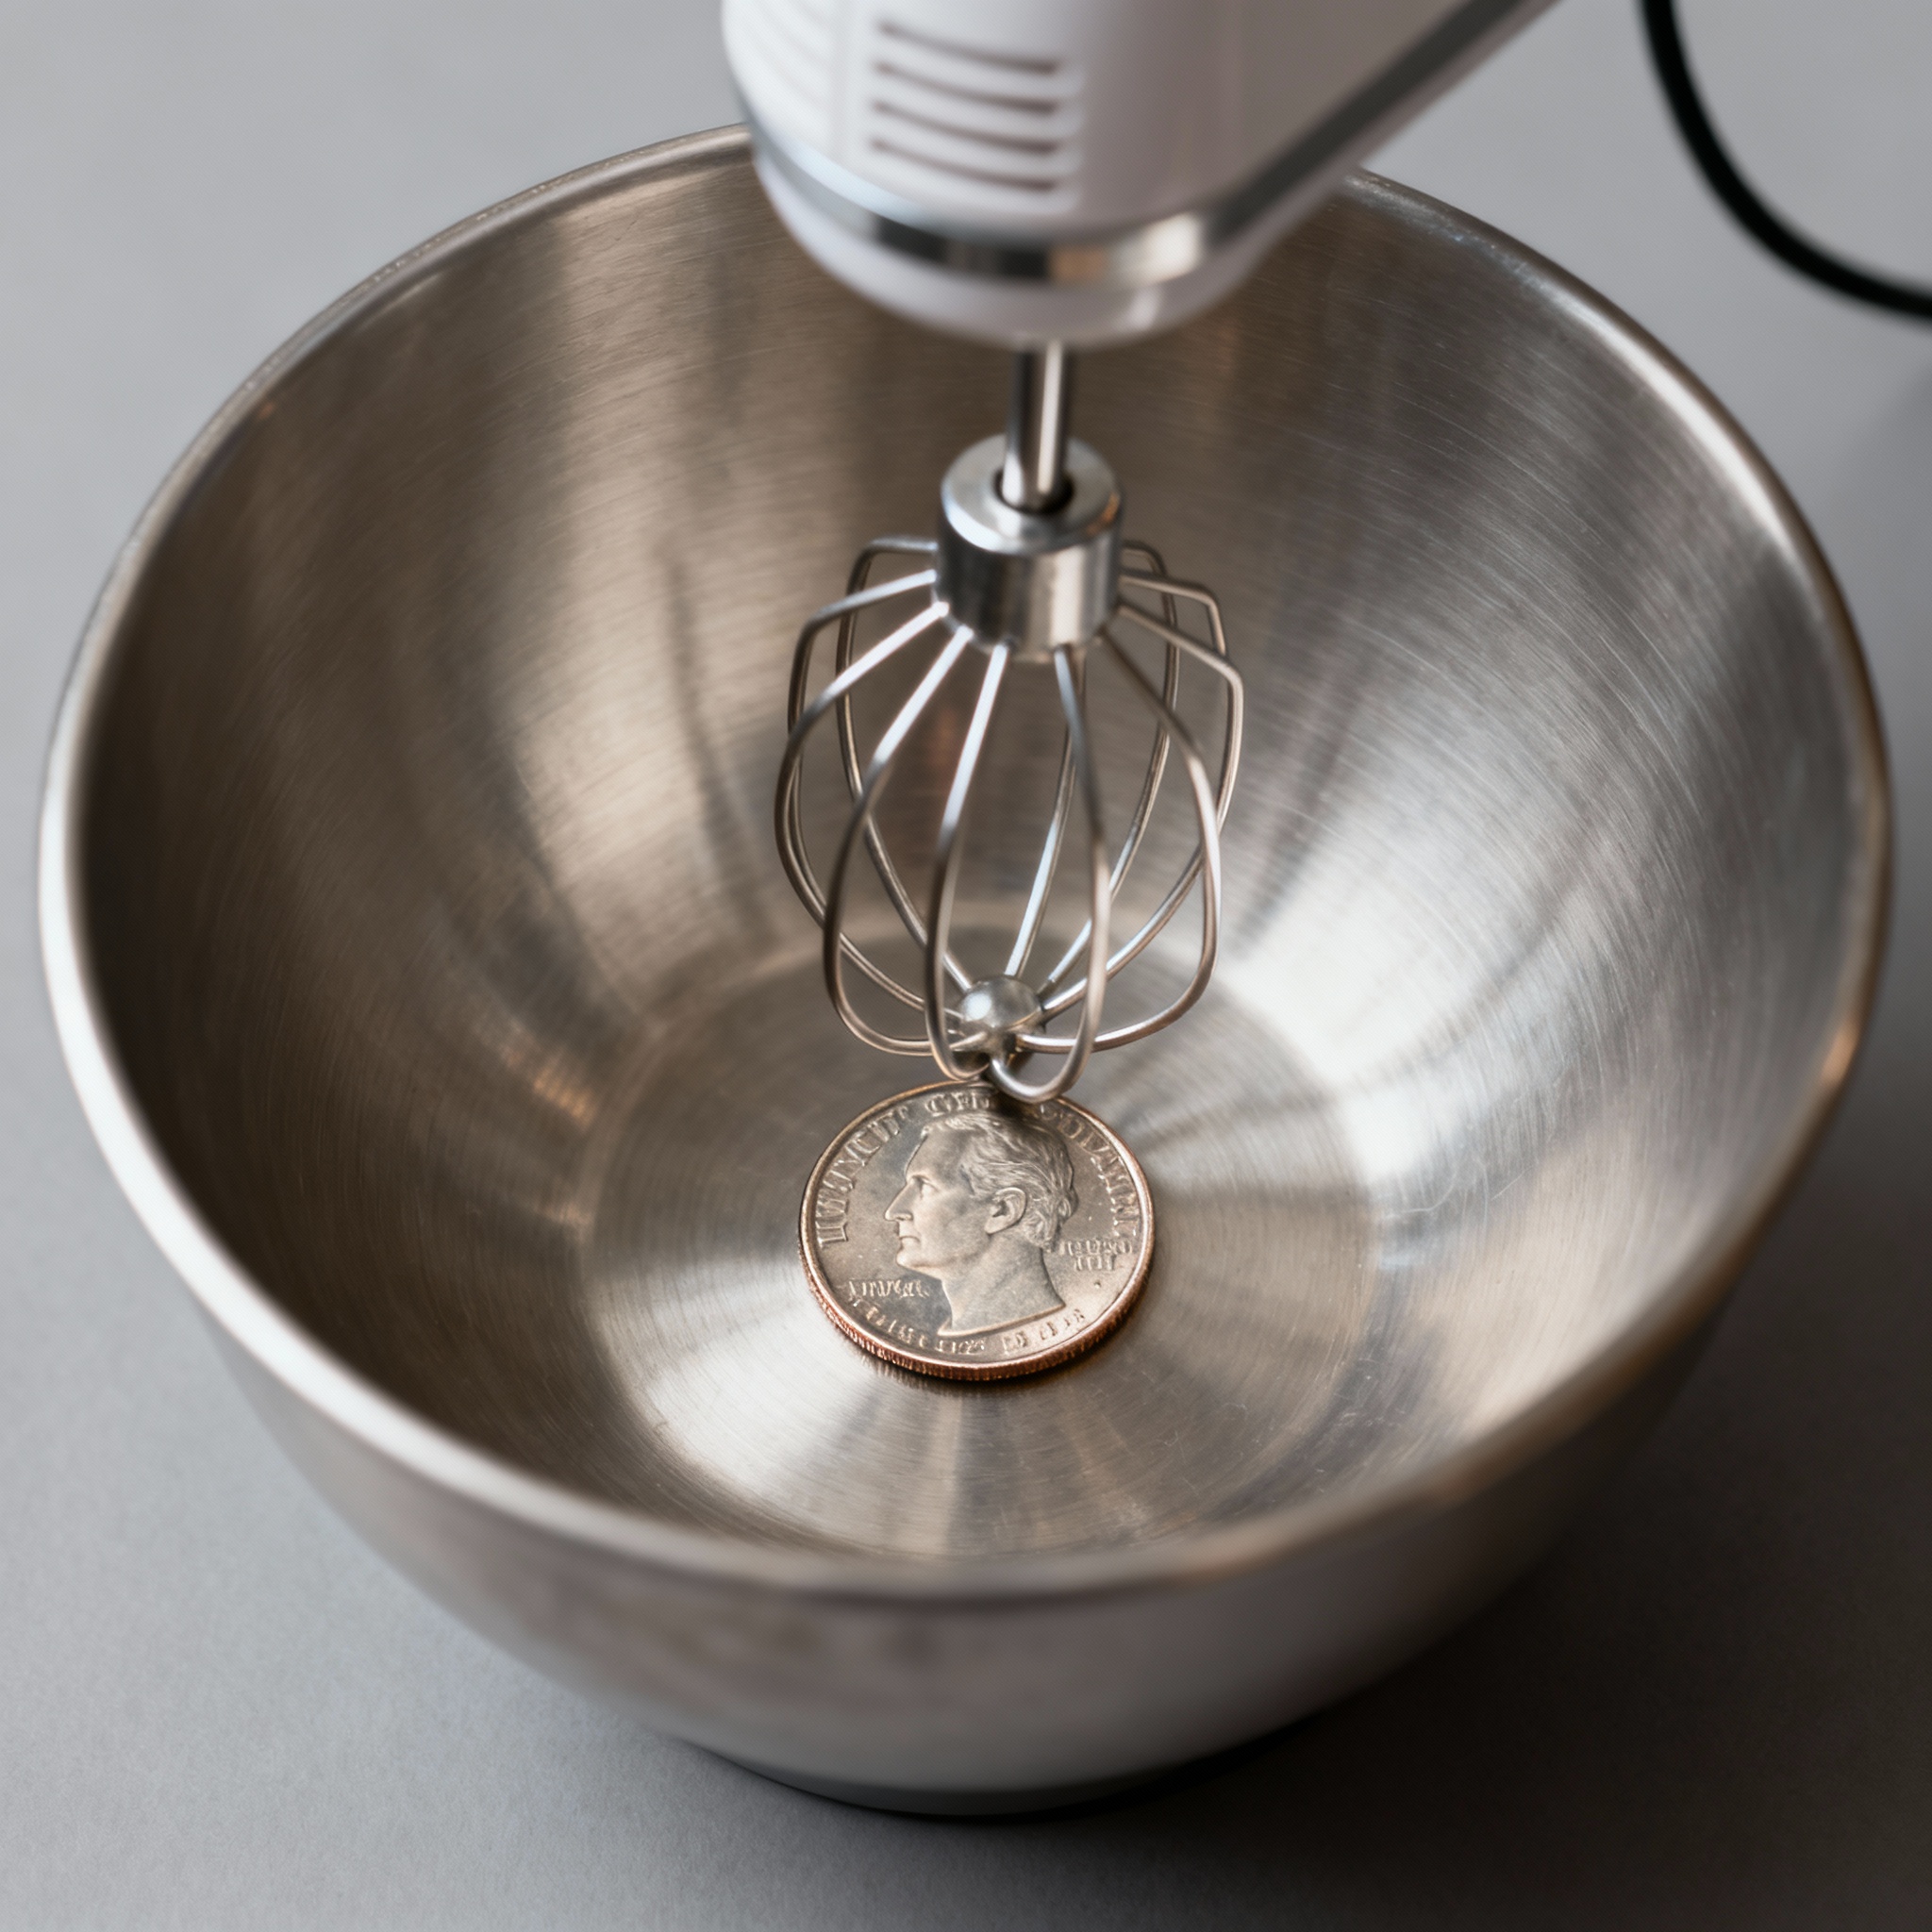
How to do it:
- Place a dime (or any small coin) in the bottom of the empty bowl
- Attach your flat beater and lower the head
- Turn the mixer on to “Stir” (Speed 1)
- Watch the beater closely—it should gently push the dime around the bowl without hitting it hard or missing it entirely
If the beater misses the dime: It’s too high. You need to lower it. Most KitchenAid mixers have a small screw on the side that you can adjust. Unplug the mixer first, then turn the screw slightly to lower the beater.
If the beater hits the dime too hard: It’s too low. Turn the adjustment screw to raise the beater slightly.
✅ Pro Tip:
The perfect clearance is just a gentle nudge. If you can barely hear the coin moving, that’s exactly right. This adjustment makes the difference between perfectly mixed dough and lumpy, under-mixed batter.
🎯 The Quick Reference Chart
| Attachment | Main Uses | Speed |
|---|---|---|
| Flat Beater | Cookies, cakes, batter, mashing | Speed 1-3 |
| Dough Hook | Bread, pizza, pasta dough | Speed 2 |
| Wire Whisk | Whipped cream, egg whites | Speed 3-4 |
❓ FAQ: Stand Mixer Questions Answered
Q: Can I use the flat beater for everything?
A: Almost, but not for whipping. The flat beater won’t incorporate enough air for whipped cream or meringue. You need the wire whisk for that.
Q: How do I clean the attachments?
A: Most are dishwasher-safe, but check your manual. Hand-washing with warm soapy water works fine too. Make sure they’re completely dry before storing.
Q: My mixer is making a weird noise. Should I be worried?
A: Slight humming and whirring is normal. If you hear grinding or unusual sounds, unplug it and check that the head is locked properly and nothing is stuck. If the noise persists, contact the manufacturer.
Q: Can I use a stand mixer for small batches?
A: Yes, but fill the bowl at least 1/4 full for best results. Very small batches may not mix evenly.
Q: Do I really need all three attachments?
A: For most home cooks, yes. The flat beater does 80% of the work, but the dough hook and whisk are worth having for bread and whipped cream.
Ready to Master Your Stand Mixer?
Now that you know how to use it properly, you’re ready to tackle any recipe. Your stand mixer will become one of your favorite kitchen appliances. From perfectly kneaded bread to silky whipped cream, it does the hard work so you don’t have to.
Looking for the best stand mixer options? Check out our complete guide to the best stand mixers of 2025 to find your perfect match.
Popular Stand Mixer Options
If you’re still looking for the perfect stand mixer, here are some of the most popular options on Amazon right now:
KitchenAid Artisan (5-Qt)
The classic choice. Reliable, durable, and widely available. Perfect for home bakers.
Cuisinart Precision Stand Mixer
Budget-friendly option. Great performance at a lower price point. Great for beginners.